Friday, February 14, 2014

Magical ice block.

An ice block can open child's imagination to another world!
Letting girls to choose forms for their ice cubes, we once agin spoke about what ice is, about temperature and about parts of the world which are covered in ice.
Our ice is ready to be explored!
In bigger blocks of ice presence of impurities such as air inclusions makes the ice block look like a frozen world of shooting bubbles. "There must be something hidden in between these bubbles! What do you think it could be?" I asked girls. "Somebody could be hiding in there!" girls says with an excitement.
Using food colorants, pipettes or a pant brush girls are starting to colour their magical frozen world. Sides of the ice block are starting to melt creating thin lines which are starting to look like colourful rivers at the side of the ice cube. Under the ice cube a lake is starting to form where all the colours are mixing together. "Look, Mammy, it's a rainbow!" screams the small one. "Do you think it could be the place where the rainbow starts?" I ask. "Yes! This is the beginning of rainbow!!!" girls are over excited with their new discovery.
Once the painting was complete and day light started to fade away, we turned all lights off and using a torch we lighted up the world inside the ice cube. It was a mind blowing view through the colour cover ice cube which now looked so magical with white fog in the very middle and frozen bubbles around it and rainbow rivers over it. They took some glitter and shifted it over their ice cube pretending it's snowing rainbow snowflakes. Beautiful!
And then something extraordinary happened! Having no snow in Ireland, girls were dreaming about having some ice and snow outside. Next moment smallest one lets out the loudest scream - "it's snowing outside!!!". I looked outside the window and there they were - snowflakes dancing between stormy winds all over our garden!!! Speechless and excited we ran outside to be a part of this magical moment. Snowflake hunting with the torch was in operation!!!
Those who don't believe in magic will never find it....

Wednesday, February 12, 2014

Flour castles.

This project is for brave parents who don't fear great and heavy cleaning session... :/
We discovered this madness while preparing some Christmas baking. Dough mixing got out of control and became a flour storm! Girls had so much fun that we have been practising flour castle building at least every second week. Candy volcanos, animal prints in flour, snowing over candies... so many things to imagine with flour!
All you need to have is a pack of flour. Some summer sand forms, spoons, animals, cake sprinkles goes well together.
I highly recommend to make candy volcanos - mini and large. Small one was stamping small craters and filling them with sprinkles and my oldest daughter made a big volcano which collapsed and swallowed all of sweet lava sprinkles.
Than animals were passing over volcanic area in search for candies but all they found was just another footprints in flour....
And saving best for last - a total freestyle vandalism! And a footprint on the rug which apparently doesn't belong to anybody... :/

Tuesday, February 11, 2014

Shaving foam art and pooping rabbits :)

Who thought of this?!!! What a total genius! Since our discovery of shaving foam crafts there have been no rest. And our shopping basket is starting to get attention from our local shop assistants... :/ I can only imagine what are their thoughts.... :D :D :D
Having our friends over, entertainment level had to be tip-top. And shaving foam did just that! We did two art sessions and one science session. And kids were kept busy for over 3 hours! Success or what :D
You will need
1. Shaving foam
2. Liquid glue (we used all craft white clue)
3. Colours. Any. We used food colorants but it stains your hands. Gouache colours would be the best for younger kids.
4. Bowl to mix all ingredients.
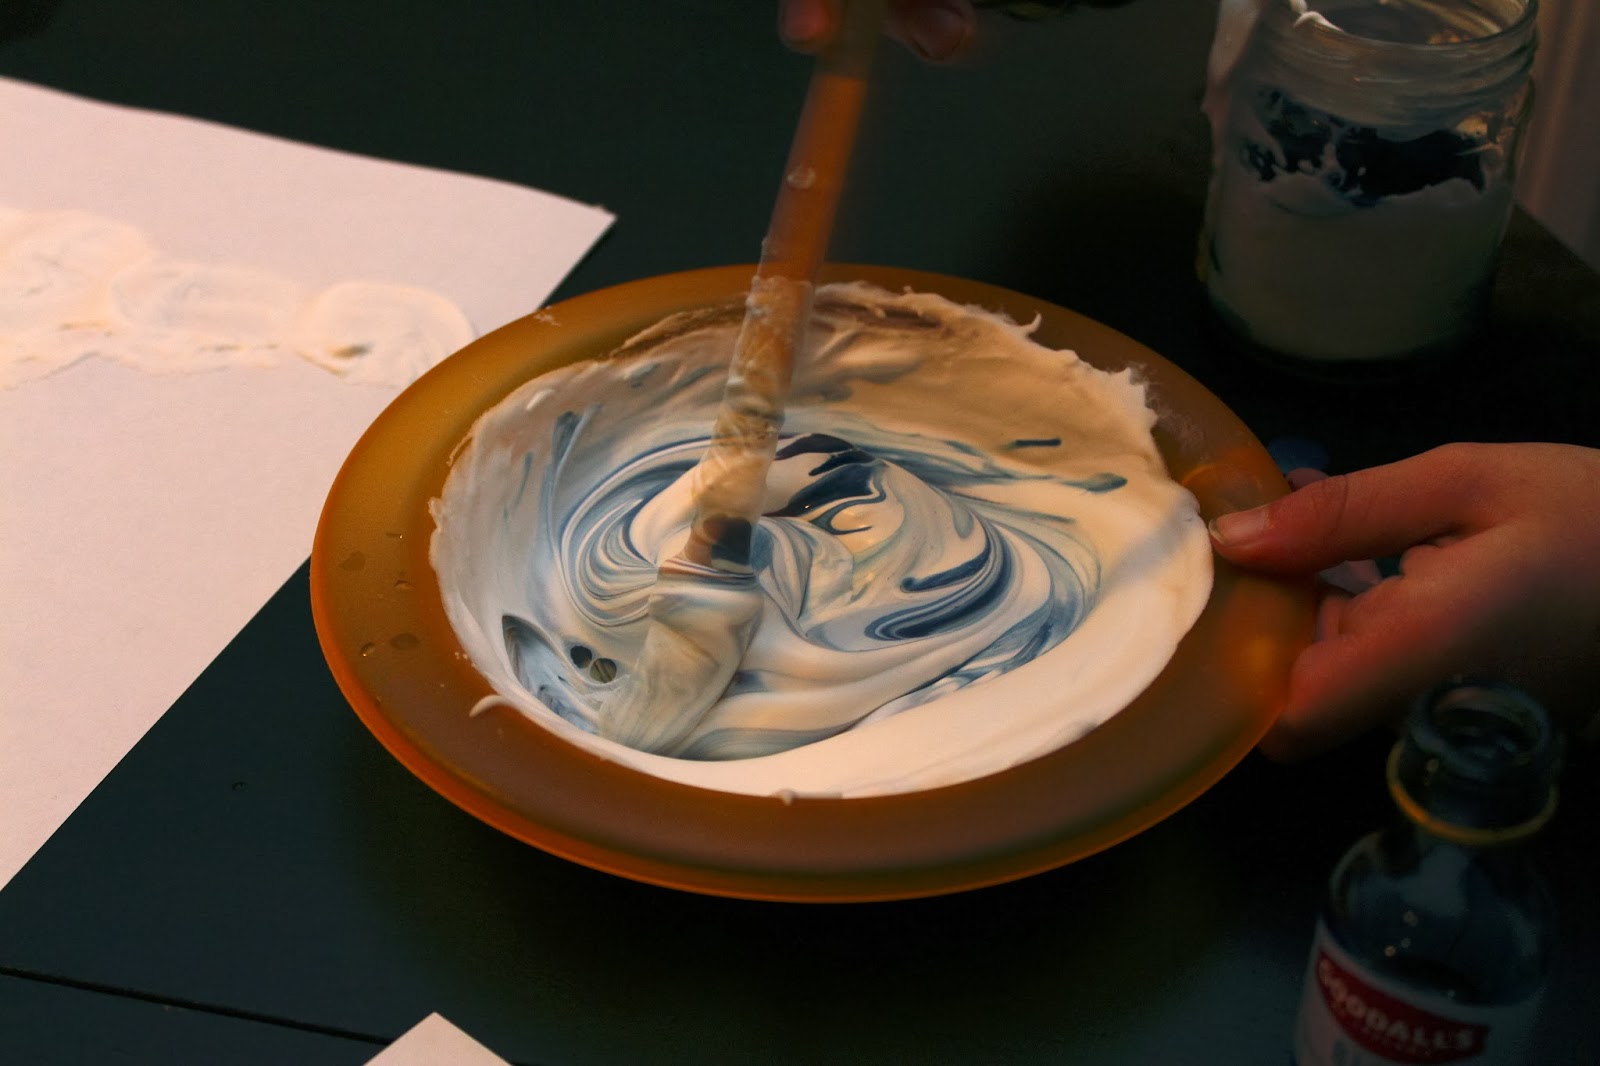
Pour equal parts shaving cream and white glue into a bowl. Stir the two ingredients together with a spoon until the finished product is slightly stiff. When you take the spoon out of the bowl and hold it upside down, the paint should stay on the spoon. Make a new mixture for each color you'd like to paint. Once paintings are done, allow the paint to dry overnight before touching it.
So here is what we did, how we did it and why we did it:
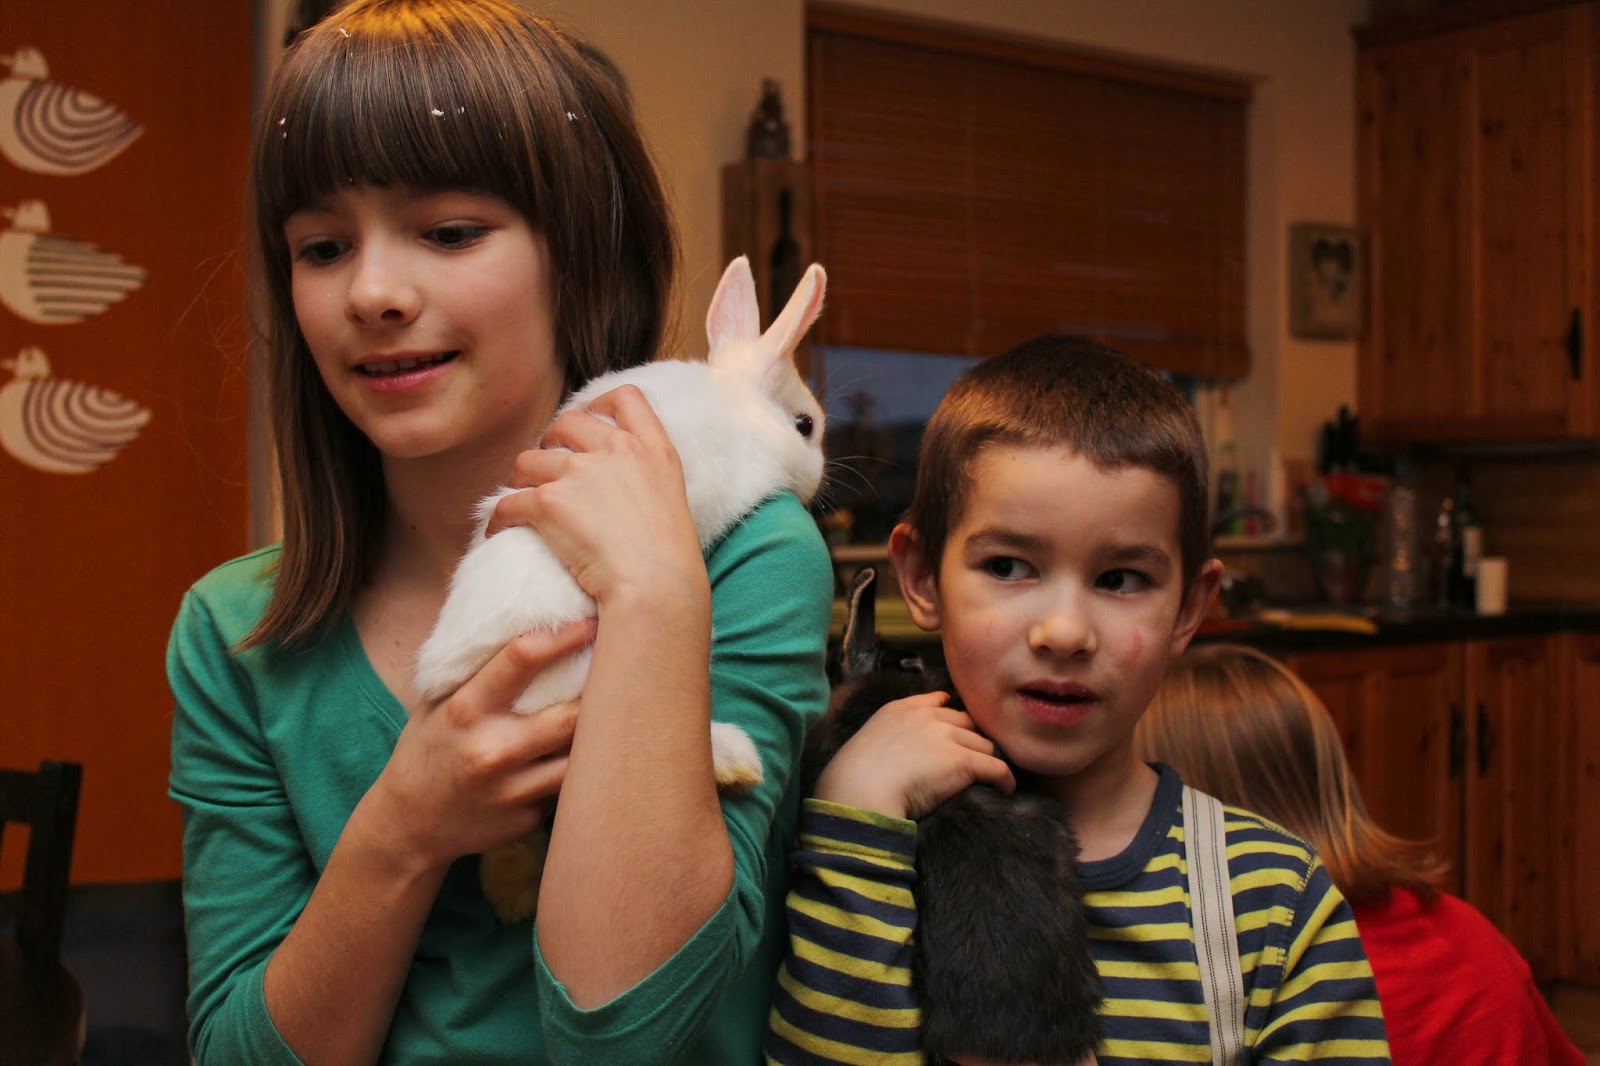
Our two rabbits Hiccups and Bruce Lee had been constipated for nearly 2 days. We were so worried... And one moment my oldest daughter notices that there are few tiny, little poo in the rabbits toilet. Well, the excitement in the room! (... :D ...)
Kids decided that they need to make a drawing for this happy moment. And here is the result - happy, healthy, pooping rabbits (What a laugh I had... :D :D :D )
After that there was some intense colour mixing, more glue pouring and more foam and foam and foam and foam. There was no end to new ideas of what to draw next.
Highly addictive art. Be advised!

Imitating a rain cloud.

When art session was done it was time to get some science going. I found this really educational and fun activity on pinterest. It looked so interesting that I myself couldn't wait to try this out! This is one of the greatest and most simplest way of learning the very basic concept of clouds - how they hold water and when there is too much water it starts to rain.
You will need:
-a clear glass or a jar or a vase
-Food colouring (you can use other coloured water but this seems to give the best colours)
-Water
-Shaving cream
-pipette (eye dropper)
Fill drinking glass or vase with water but not to the top, leave an inch from the top unfilled. Then top the glass with shaving cream. This is the moment when you can explain about clouds and what types of clouds are there. Then add blue food coloring to the "clouds". Please note that this works best to concentrate the food coloring in a couple areas...rather than add a drop here or there. For more colourful rain add all the colours you have :)